
Start rendering in 5 minutes!
Watch our 2-minute video to get started, or follow the steps below. You’ll be rendering in no time!


Get started
Get started with Drop & Render in just a few steps.
1
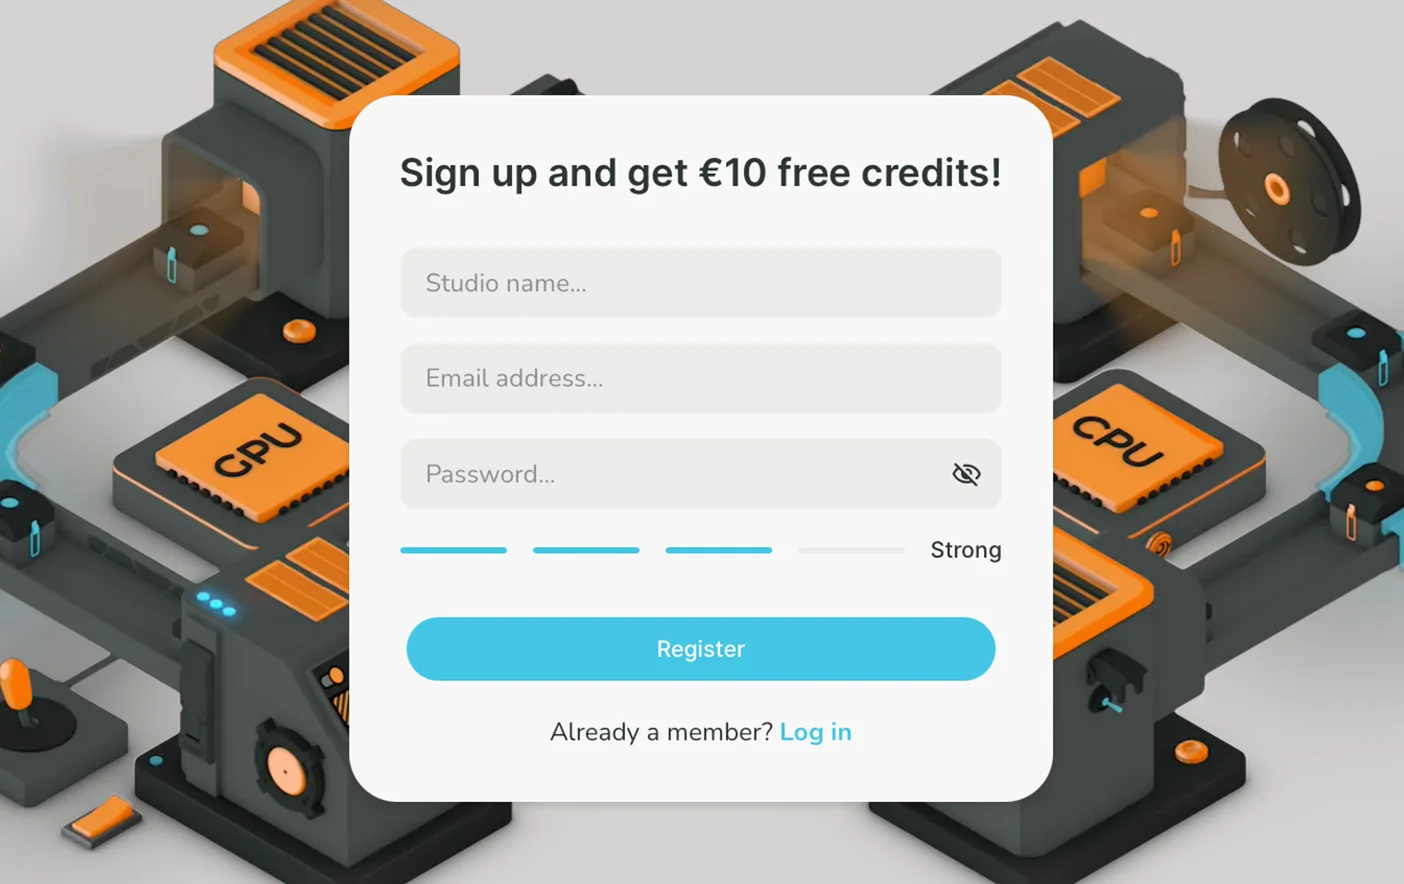
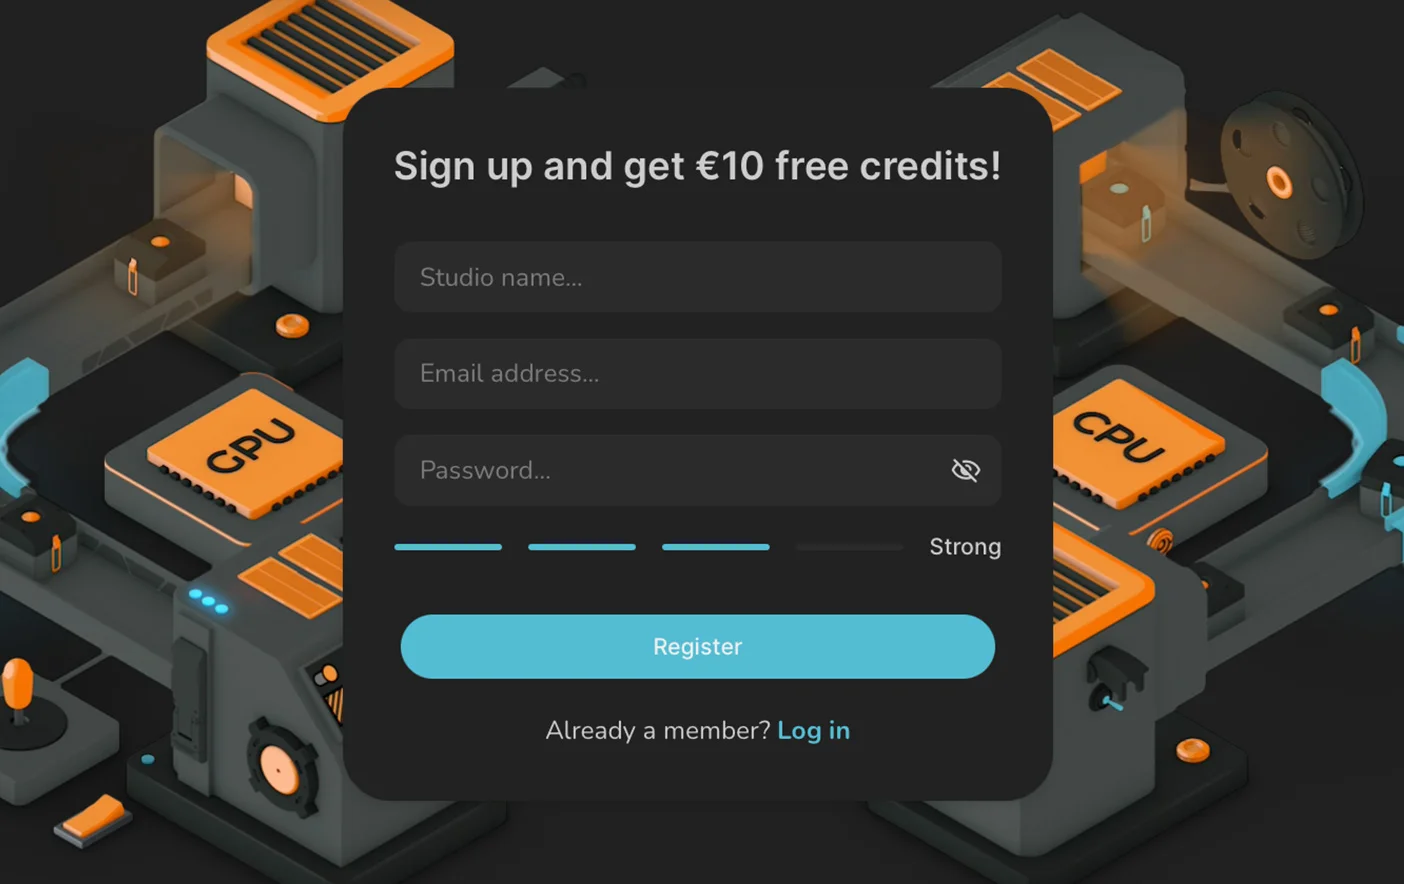
1. Create a studio account
A studio account lets you manage your renders, view your job history and purchase render credits. You can also create multiple users to connect your whole office to the render farm!
Simply follow the link below to start registering an account. We will give you €25 free credits to get you started!

2
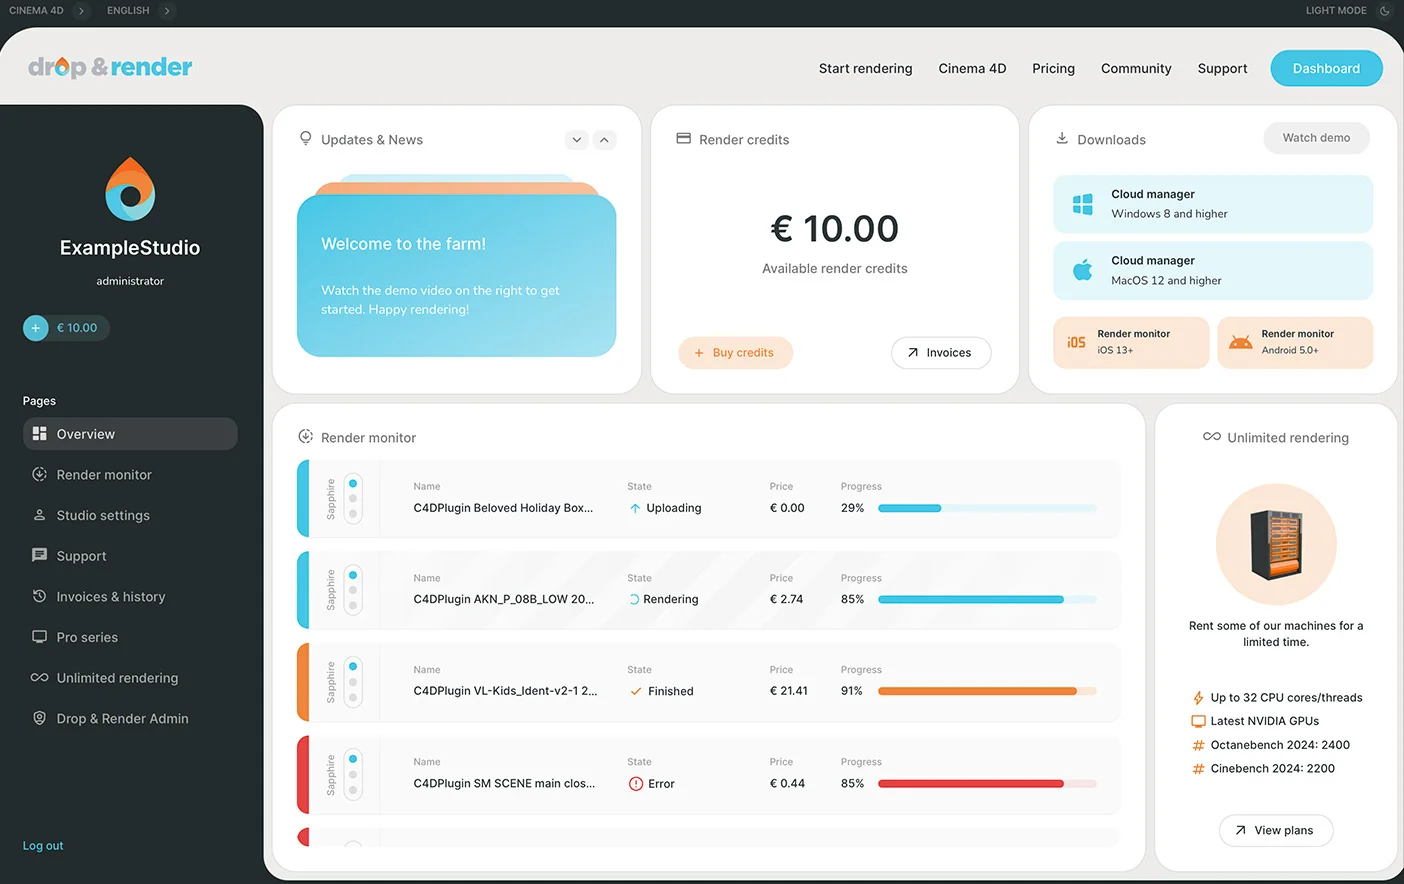
2. Install the tools
Connect to Drop & Render! We developed our Cloud Manager application to let you easily manage all your ongoing renders, your deadlines and even the users within your team.
Choose the button for your operating system below to get started. We support Windows 8 or higher and and MacOS 10.15 or higher.

3
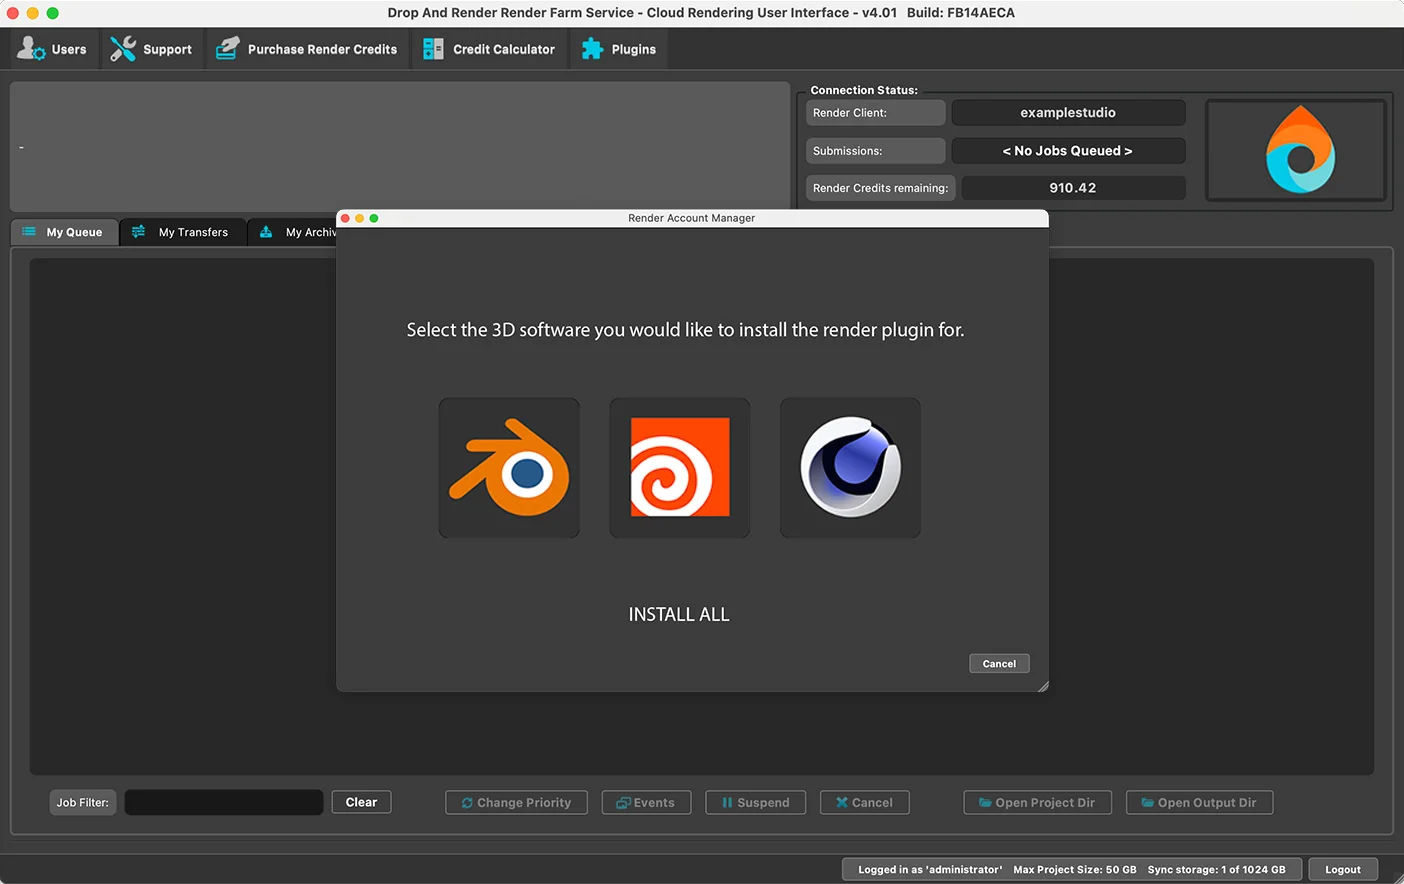
3. Log in to the Cloud Manager
Look for the application as 'Drop and Render User Interface' on Windows or 'cloudui' (accessible under 'Applications' > 'DropandRender') on MacOS
Authenticate your studio account by filling in the correct login details:
|
Studio Account |
Your studioname |
|
|
Password |
Your password |
4
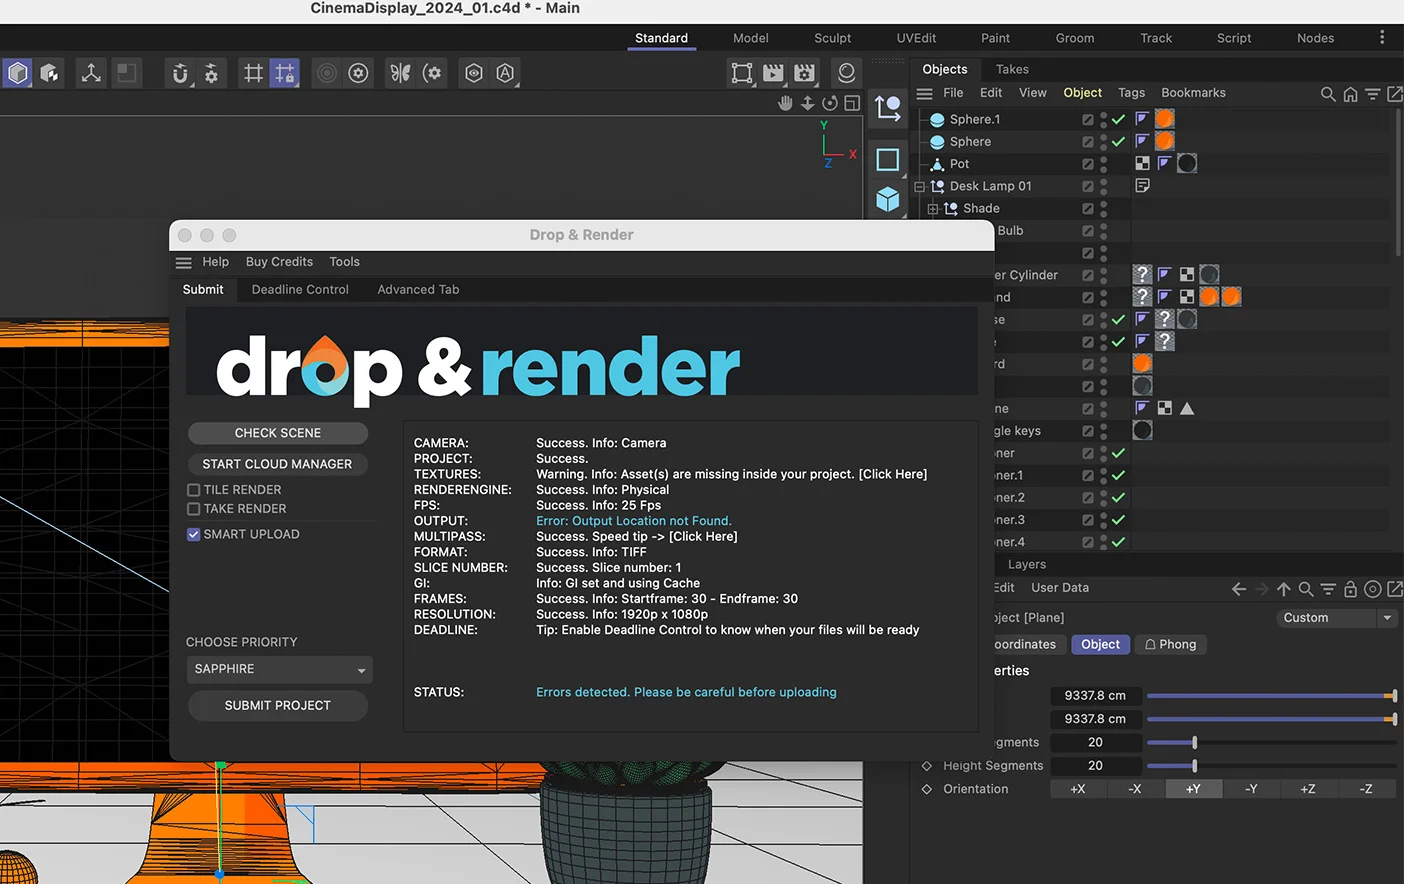
4. Install our Plugin
The Cloud Manager will now ask you to install our plugin. This software will form a bridge between your machine and our servers, seamlessly transferring your entire project with no manual action.
As a bonus, it will also quickly perform over 300 intelligent checks before sending out your render to our servers, giving you a chance to fix any potential issues without ever having to paying a penny.


Supported software
Company details